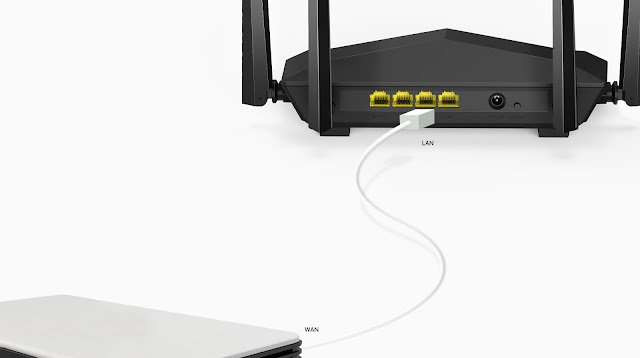
How to Setup Tenda Wireless AC1200 Dual Band Wireless Wi-Fi Router?
Tenda wireless router
is known for the high speed, up to 1200 Mbps, and it is something
fantastic. Tenda
wireless AC1200 dual-band router comprises high speed Wi-Fi
technology and can easily link up to 20 wireless devices by maintaining optimum
Wi-Fi speed. Tenda router has antennas to maintain high speed connection for
proper stability.
So, you can use a
router that is of the best in class quality. It is a common issue that people
encounter with the new router and is mainly related to the router setup
process. Let’s see how to complete the Tenda wireless setup to use the router
hassle free.
Basic Features Of
Tenda AC1200 Wi-Fi Router
- Four antennas for better range.
- Bright LEDs and Bandwidth
control.
- With this router, you will get
a wireless speed of 300 Mbps on 2.4 GHz and 867 Mbps on 5 GHz.
- For multitasking latest MU-MIMO
technology is used.
How To Setup Wireless
Tenda AC1200 Dual Band Router?
This section includes
the basic setup process of the AC1200 dual-band router. Check out the
below-mentioned steps so that you can use the router effectively.
- Start by launching the web
browser by entering the IP address 192.168.0.1 and then proceed.
- Tap on Tenda
AC1200 login ID and password in the respective column, and
the default password is admin.
- Now, you need to tap on the
advanced link.
- Go to the Wireless tab and then
check out the list. You need to check the primary option from it.
- Check out the band option and
tap on the dropdown menu.
- Choose the 5GHz and then enable
it.
- You need to select the country
and then choose the country.
- You can now enable or disable
the SSID broadcast; you can allow it to as it will make the network
connection easier. And, if you want to disable it, it will hide the
network and keep it secure, but you need to configure the network before
connecting every device.
- Now, you can assign the name to
the network.
- You will find two fields, i.e.,
802.11 and the channel, which will make them 11a/n/ac/ mixed and auto,
respectively. There is more field, and it is channel bandwidth, and this
one should remain as default.
- Tap on Save to complete the
changes.
So, these are some
steps to perform the setup for Tenda Ac1200 wireless setup.
Conclusion
This guide will get to
know about the quick steps to perform the Tenda AC1200 wireless
setup. Follow the instructions and complete the setup.


Comments
Post a Comment